Pros
- Large print area
- Improved accuracy
- Matrix light source
- Excellent heat dissipation
- Easy-to-use touch panel
- Includes a wide variety of projects
Cons
- Default settings from ALKAID didn't work
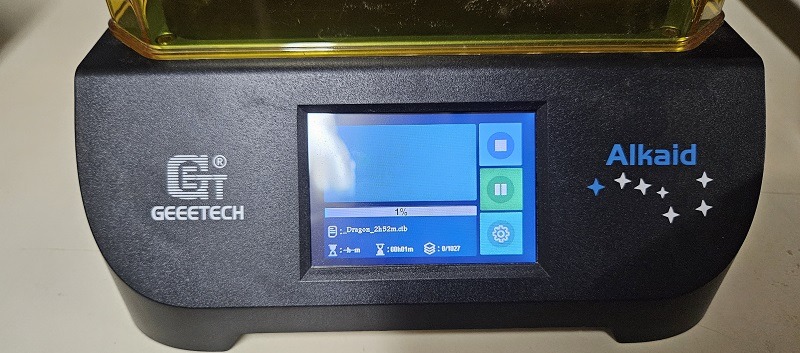
- On-screen text during the print is really tiny
Thanks to more affordable 3D printers, you can easily print a wide variety of things right at home. The ALKAID LCD Light Curing Resin 3D Printer is one of the cheapest ways to get into 3D resin printing. Whether you’re a beginner or a hobbyist, it’s a user-friendly machine. I had the pleasure of trying the printer out for myself.
This is a sponsored article and was made possible by Geeetech. The actual contents and opinions are the sole views of the author, who maintains editorial independence even when a post is sponsored.
Overview of Features
The ALKAID LCD Light Curing Resin 3D Printer packs a surprising number of features into their printer for a price that’s just right.
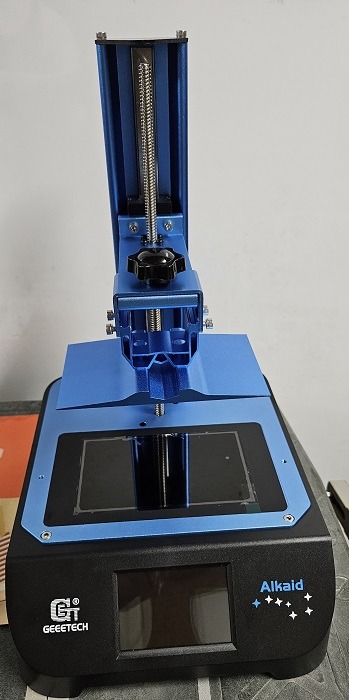
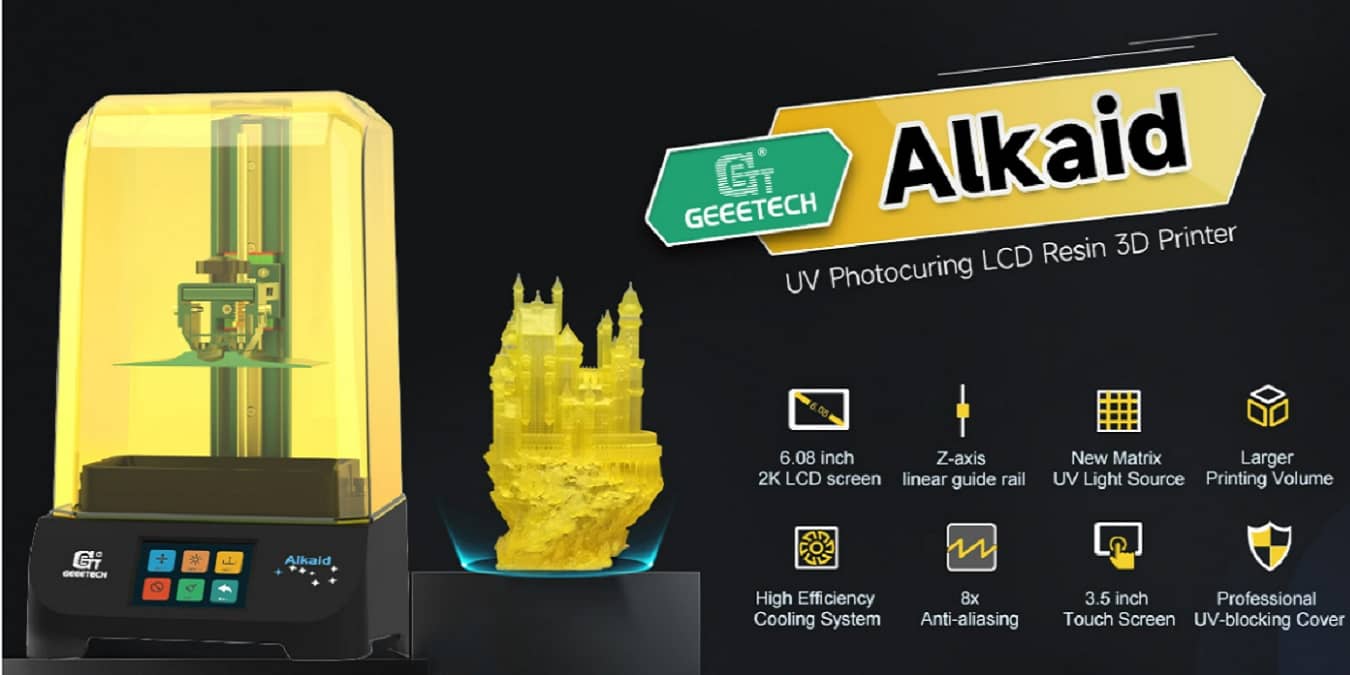
To start, the printer focuses on improving print accuracy. The 6.08 in. 2K black-and-white LCD screen gives you an X/Y direction accuracy of up to 0.051mm. Plus, the Z-axis linear guide further improves accuracy for higher quality prints. It’s also self-aligning to help prevent errors.
Enjoy faster printing with the matrix light source, which includes 15 highlight power quartz lamp beads. This combines with the professional quality matrix lens to make the UV light more intense and even.
An effective heat dissipation system helps the printer last longer. This is thanks to two major features. First, the UV lamp beads are at the bottom of the machine to create a larger heat dissipation area. Second, a cooling fan helps reduce the heat on the lamp plate.
While designed for smaller printed pieces, you actually have a rather large printing area for the size of the machine. The ALKAID printer gives you an area of 3.14 in. X 5.11 in. X 7.48 in.
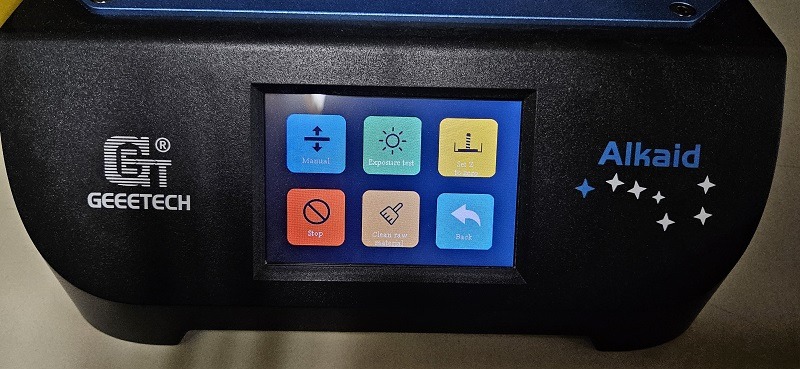
To make it easy to control the device, you have a 3.5-in. color touchscreen. From here, you can manually adjust positions, align the Z-axis, choose your project, and more. You’re also able to view the current project’s progress.
Some of the other notable specs and features include:
- UV blocking cover
- 8x anti-aliasing for improved surface finish
- Easy FEP replacement design
- Uses 405nm wavelength UV resin
- Supports layer thickness of 0.01-0.2 mm
- Prints at 30 mm/h
- 45 W UV lamp
- USB port for adding files
- Uses Chitubox to create files
In the Box
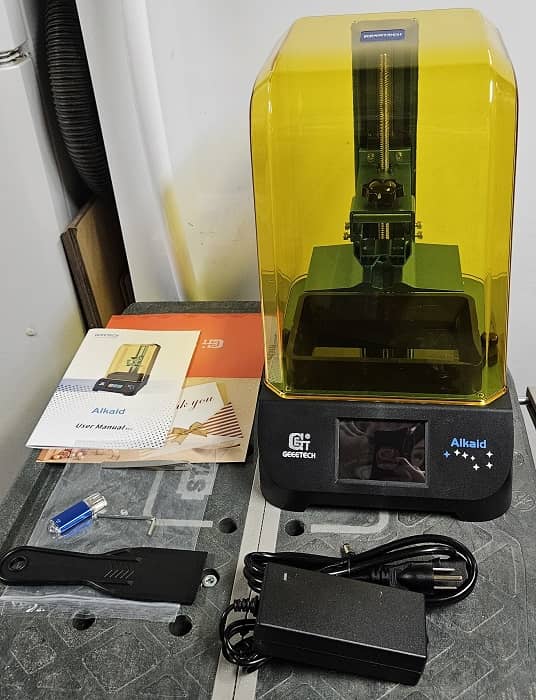
The ALKAID LCD Light Curing Resin 3D Printer comes with most of what you need to get started right away. You will need to buy resin, however. The company sent me a bottle of black Geeetech Standard Resin, which worked well for my review. You’ll also need a funnel and filter to pour resin back into the bottle. The included manual lists that funnel filters are included, but the product page doesn’t.
In my box, I had the following items:
- 3D printer
- UV protective cover
- Resin tank
- USB drive (includes sample files, instructions, videos, etc.)
- Wrench
- Scraper
- Tweezers
- Power supply
- Manual
Vents are located on the sides and back, and the power supply connection, power button, and USB port are on the back.
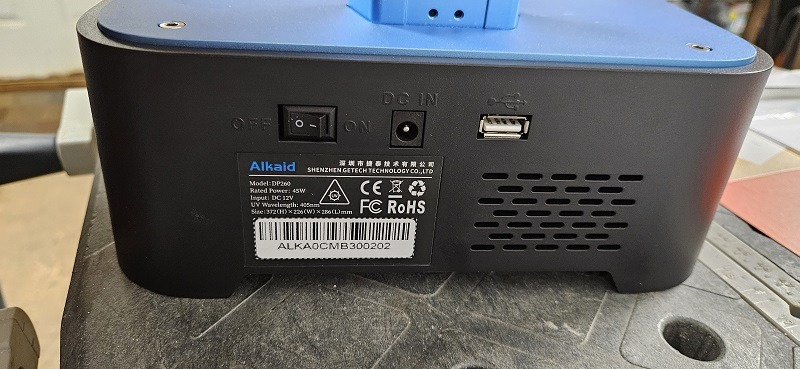
Everything was extremely well packaged. I highly recommend checking out the tutorial on the USB drive before you do anything if you’re a complete beginner. I’m new to 3D printing with resin, so it was nice to have a step-by-step guide to take me from assembling the machine to starting my first project.
Getting Started
I started by following the instructional video included with the printer. Assembly is a breeze. Peel off all the film, attach the build plate, attach the resin tank, and connect the power supply. It really is that easy.
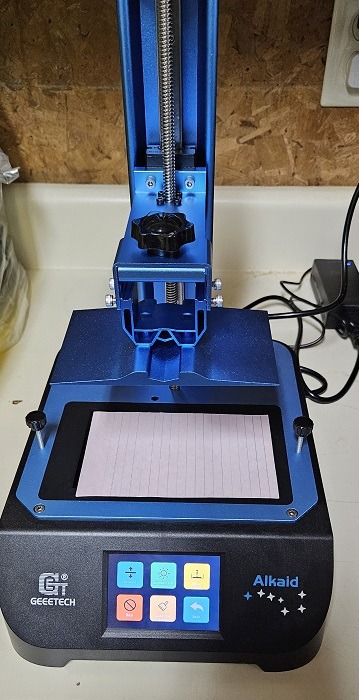
I then had to align the Z-axis using a piece of paper. This only takes about a minute. I tightened the screws on the build plate once everything was aligned properly.
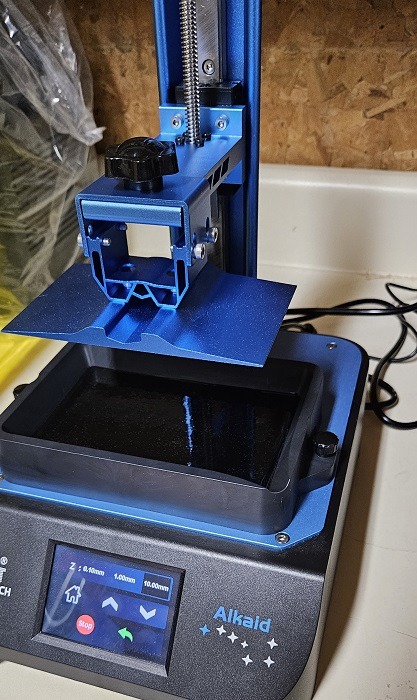
I highly recommend picking up some disposable gloves to use. You will drip resin sometimes, and you really don’t want that on your skin. I also used a silicone mat as a place to lay pieces and my scraper down to avoid staining anything.
The next step is getting the first project ready. Several files are ready to go on the drive, such as a dragon, deer, and lion. There are also wizards, a barbarian, a pegasus, and much more included that you’ll need to slice with Chitubox.
The USB drive included with the ALKAID LCD Light Curing Resin 3D Printer includes your machine specs to add to Chitubox. The software is included on the drive, or you can download it for free from Chitubox’s website.
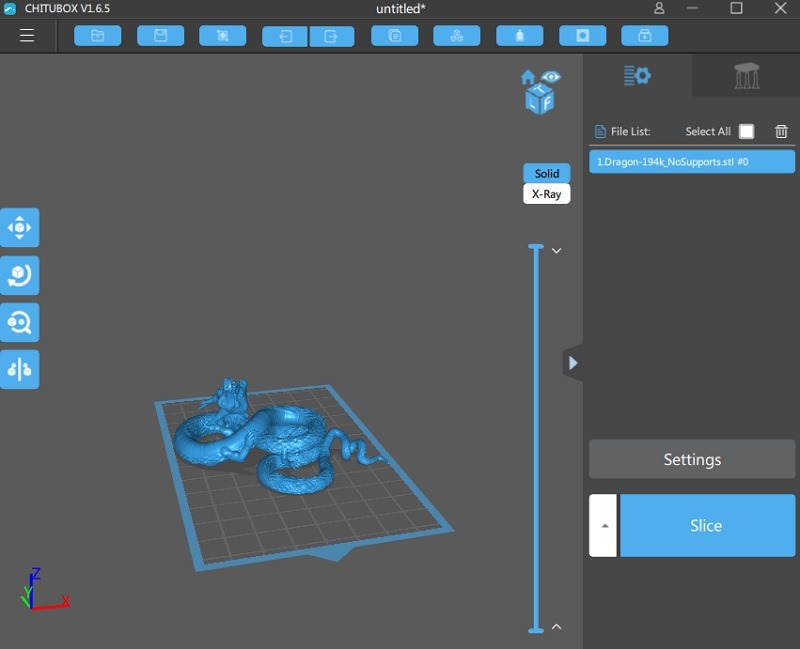
After uploading the specs, I tried printing my first file – the dragon. This quickly became a sort of nemesis during my review.
Let’s just say the first project didn’t pan out. I had some layers stuck to the resin tray, but nothing on the build plate.
Continuing Printing
I didn’t give up, though. After doing some research, I started playing around with the exposure time, layers, and other settings. I used a few calibration and exposure tests to help me get the settings right. But, as you may expect, you’ll need to adjust these slightly based on the project and even the type of resin you use.
After a few more failed attempts, including a headless dragon, I finally succeeded. I highly recommend starting with quicker projects so that you don’t have to wait five to six hours just to discover your item didn’t print. Also, faster printing doesn’t always mean better. Slowing things down added roughly 15 to 20 minutes to my print time, but the results were so much better.
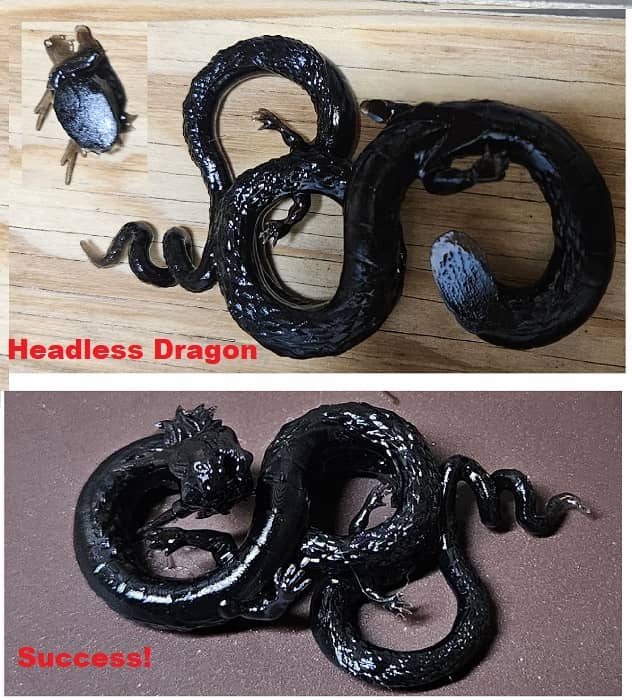
I had roughly a 75% success rate once I had my settings where I needed them. So, the defaults that come with the ALKAID file for Chitubox didn’t work at all for me.
During my review, I printed a rook piece, a cat on a throne, a dragon, and an adventurer for RPG games. My longest project took around 10 hours.
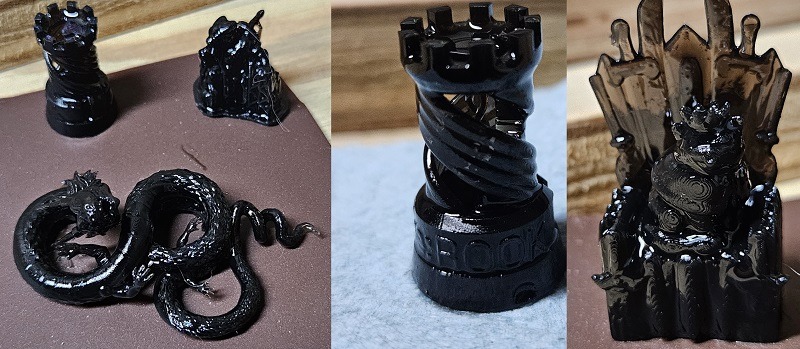
Also, many of the included projects with the ALKAID LCD Light Curing Resin 3D Printer don’t include supports. I highly recommend adding supports in the software before you slice the file. This was the only way I finally got the dragon to print correctly.
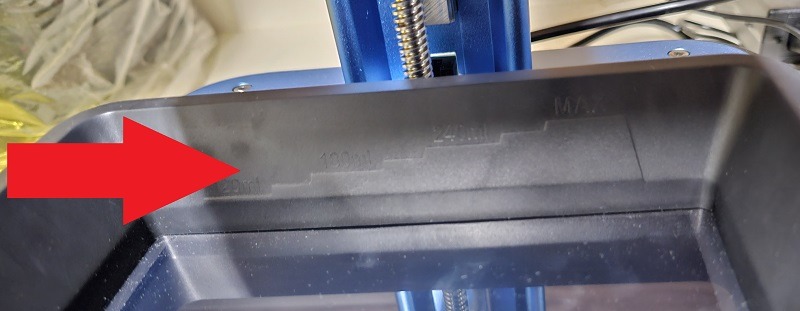
However, I couldn’t be happier with how easy the printer is to use. Simply fill the resin tank (which includes a measurement guide inside), replace the cover, turn on the printer, and insert your USB drive. Choose your file using the touch screen, and you’re ready to go.
I do wish the print times on the screen were a little larger.
Final Thoughts
The ALKAID LCD Light Curing Resin 3D Printer is a great beginner-friendly 3D printer. You’ll need to play around with the settings to get things just right for you, but that’s true for any 3D printer. As a beginner myself, I’ve managed to do a lot in just a week.
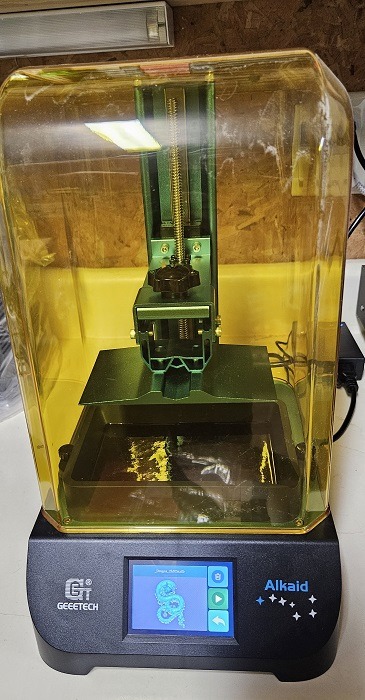
Now for the best part. This printer used to be $249, but you can grab the ALKAID LCD Light Curing Resin 3D Printer for just $99. That’s an incredible price for a printer that does a great job. Additionally, you can save 10% on resin for the printer with the code 10ETFOY2 through August 11, 2023.
Our latest tutorials delivered straight to your inbox