
Nostr is a new and innovative internet protocol that aims to simplify how people use social media. Instead of a single website, Nostr uses relays and public key cryptography to decentralize the broadcast of messages over the internet.
This article will show you how you can install a Nostr client in Linux. Further, it will also show you how to create your own unique keypair in order to participate in the Nostr network.
How Does Nostr Work and Why Use It?
The way Nostr works is that every user has a pair of unique keys that identify them inside the network. Every message that a user sends and receives from a Nostr relay are signed and encrypted using his keys.
As a result, only the user that owns the signing key can open and decode his messages. This makes any content that goes through Nostr private by default.

Aside from that, another advantage of Nostr over other social media websites is that it is “content-agnostic.” This means that the protocol does not require a strict format for incoming and outgoing messages. For example, a Nostr post can either be as short as a tweet or as long as a feature blog.
Tip: Nostr is a project that started inside the Bitcoin community. Learn what makes Bitcon special by hosting a full node and a running a Lightning Node today.
Note: The following instructions are done on an Ubuntu machine.
Installing the Gossip Nostr Client
The first step in using Nostr is to install a client in your computer. While there are a good number of programs that can tap into the network, the most reliable one right now is Gossip. This is a desktop-oriented client that does not need a web browser to run on your computer.
- Download its package from the developer’s Github repository:
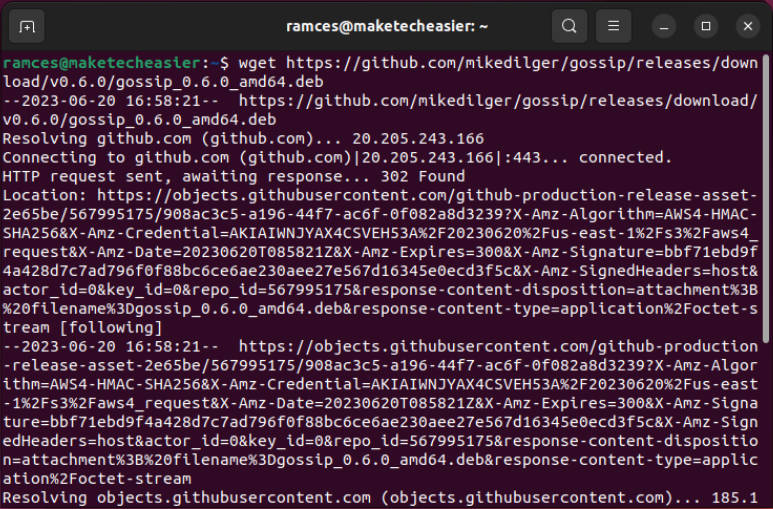
wget https://github.com/mikedilger/gossip/releases/download/v0.6.0/gossip_0.6.0_amd64.deb
- Double click the .deb file to start installing the Gossip package into your system.
Creating Your First Nostr Account
- Launch the Gossip application from the Applications menu.
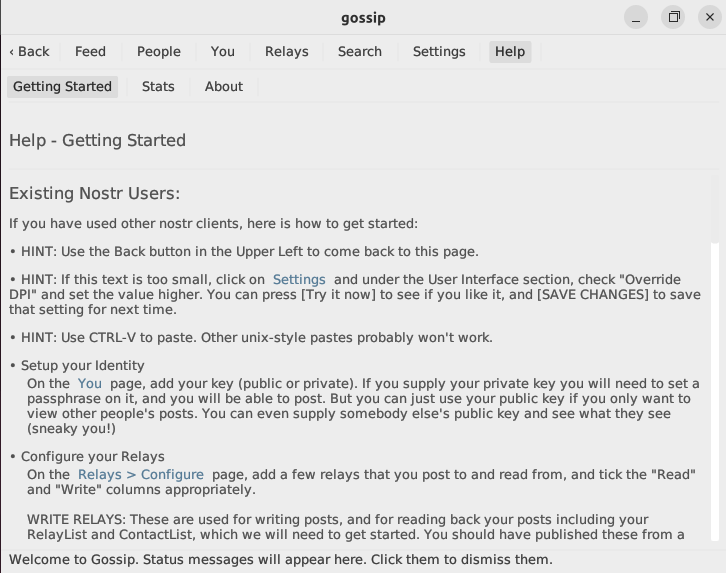
- This will open a plain white window that shows a brief overview of what you can do inside Gossip. To create your first account, click “You.”
- Click the first text box under the “Generate a Keypair” category and type your account password.

- Click “Generate Now” to create your new Nostr account.

Importing an Existing Nostr Account
Aside from creating a new Nostr account, Gossip also allows you to import an existing Nostr key as your primary user account. This can be useful if you have already used Nostr and you do not want redo your follower lists.
All you need to do is to find your current Nostr account’s private key, and paste it in Gossip’s “Enter Private Key” text box under the “Import Private Key” category. Click “Import.”
Connecting to Relays and Sending a Note
To get Nostr working, you need to connect it to a relay node. These are small servers in the cloud that carry your encrypted information across Nostr. They also allow you to find other users in the network as well as deliver your posts to your followers.
- Click the “Relays” button.
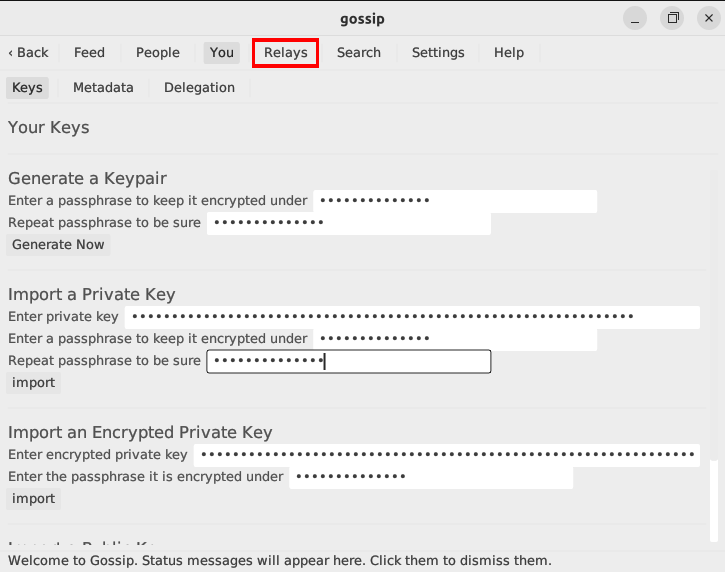
- Click the “Configure” sub-button.
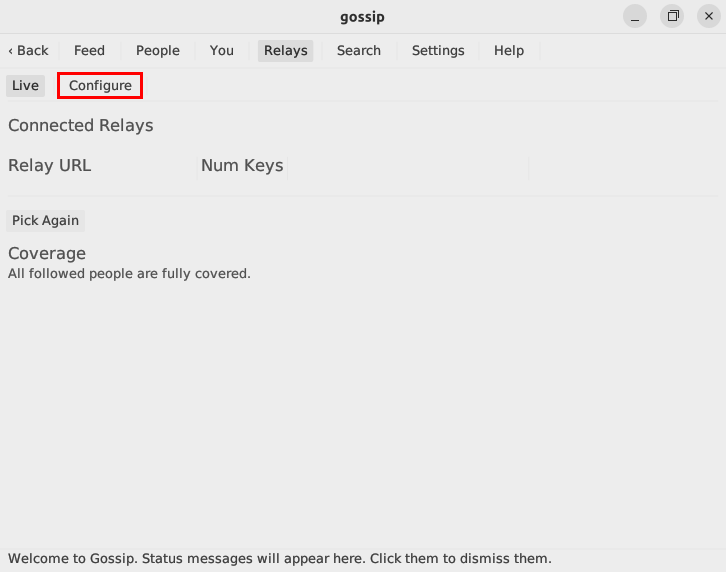
- To add a relay, write the complete URL of the server that you want to connect to, then click “Add.” In my case, I use the following relays: wss://nos.lol, wss://relay.nostr.band and wss://purplepag.es.
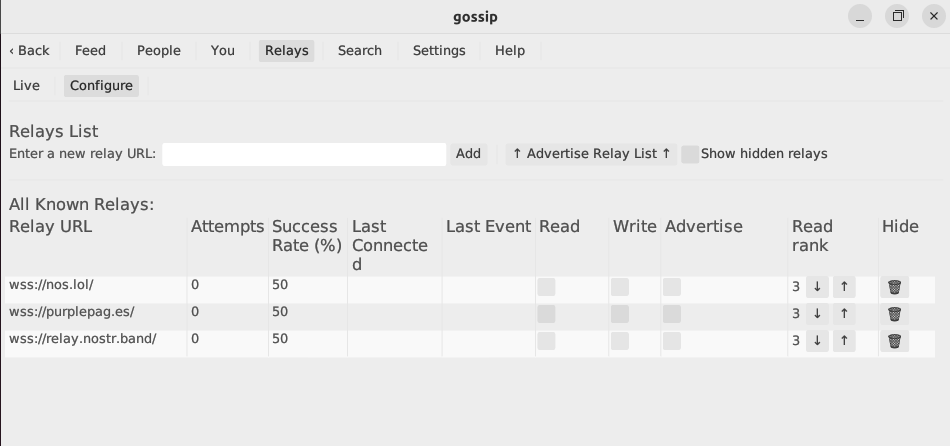
- Click the “Read,” “Write,” and “Advertise” checkboxes beside your new relay. This allows your Gossip client to use these for communicating with other clients.
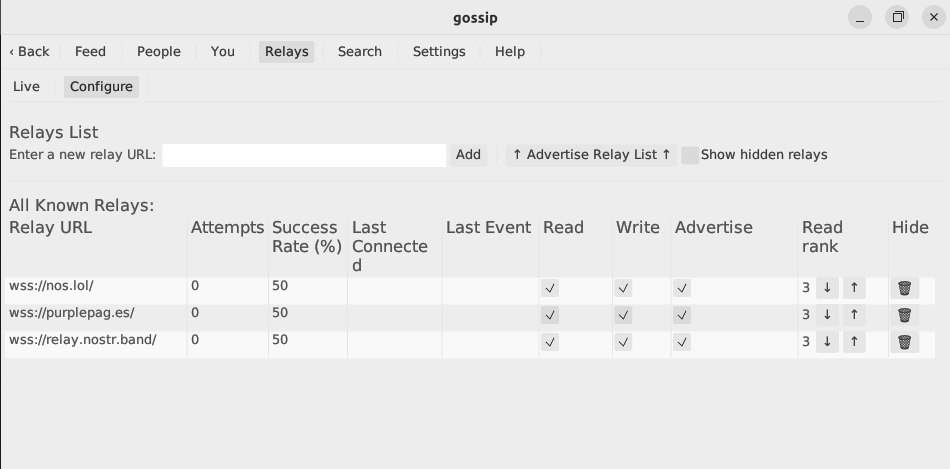
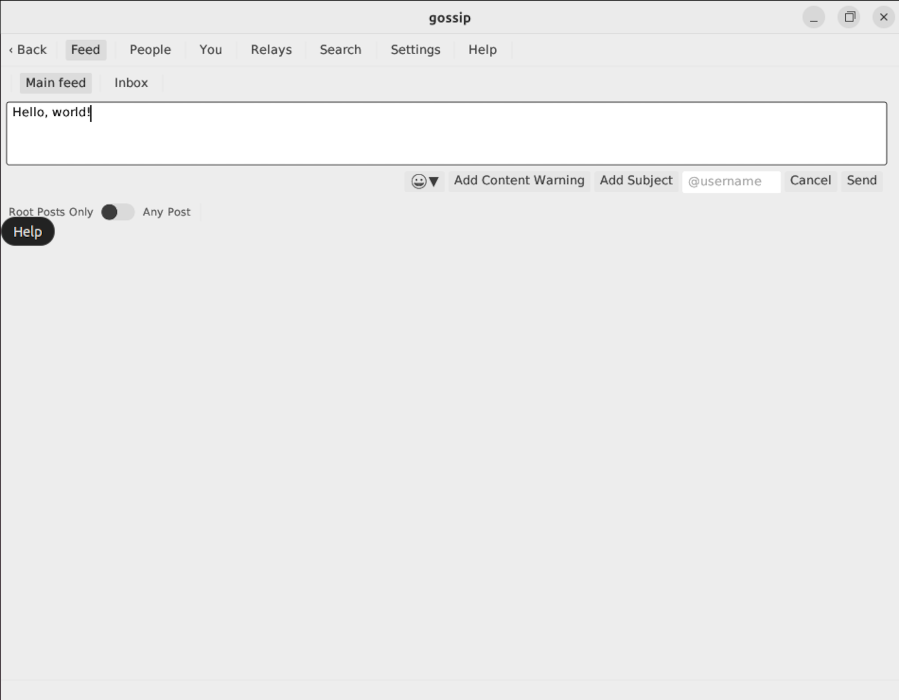
- You can now publish your first note. Click the “Feed” button.
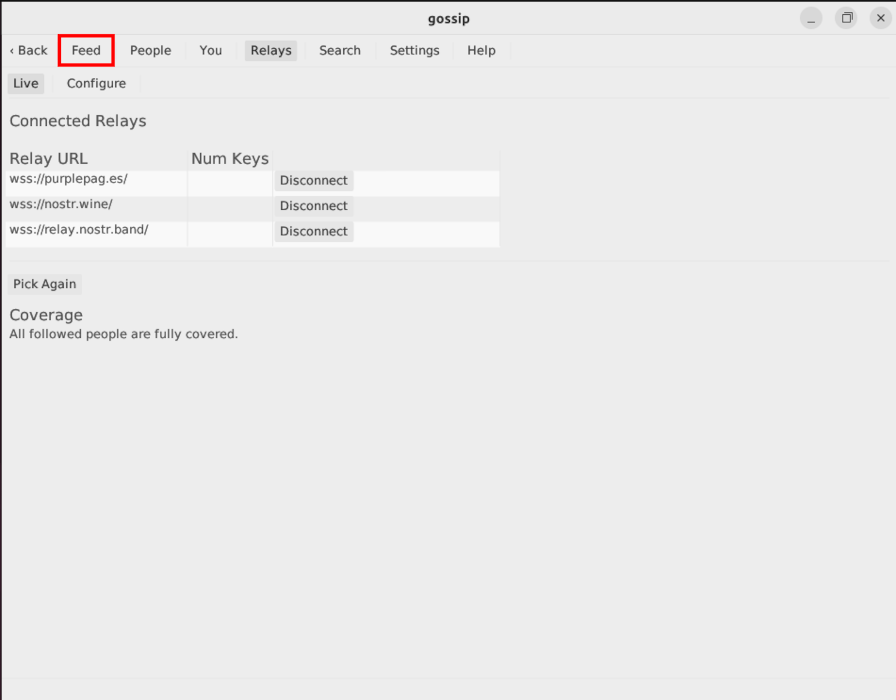
- To send your first note, write on the blank text box and click “Send.”
Following Other Nostr Accounts
Aside from sending notes to yourself, you could also follow and interact with other users in the network. This is similar to the “Follow” feature on most social media websites.
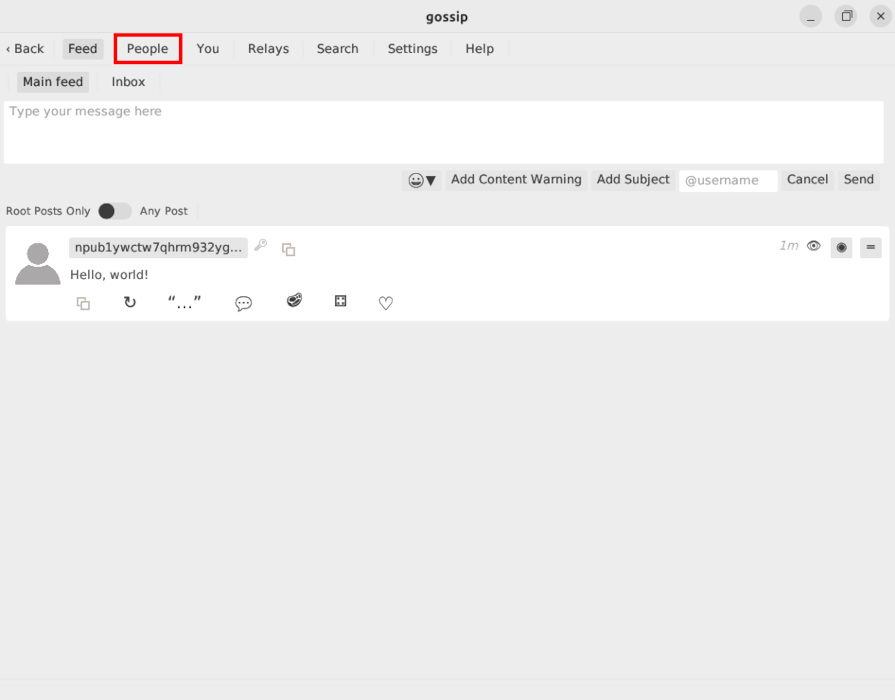
- Click the “People” button.
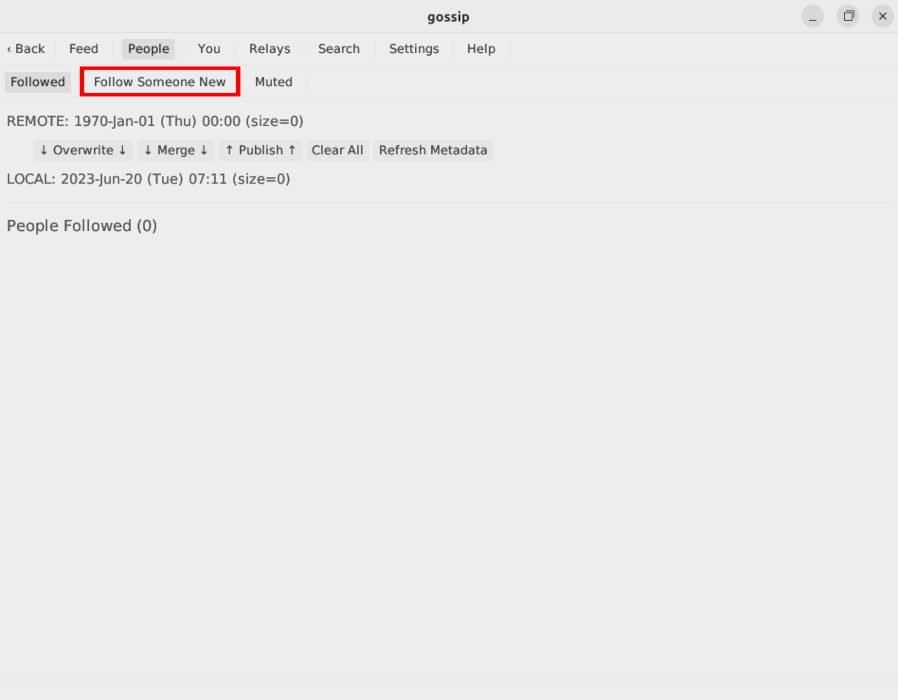
- Click “Follow Someone New.”
- Provide the profile key of the account that you want to follow. This is a long string of letters and numbers that start with “nprofile.” You can find a list of current users along with their nprofile keys by visiting a user directory website.
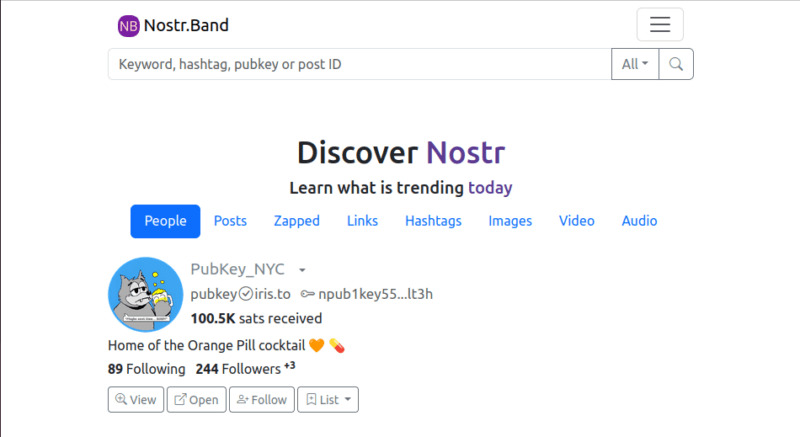
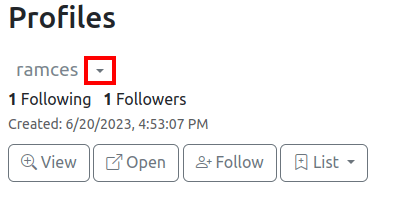
- To get the nprofile key for a user, press the small down arrowhead symbol beside the user that you want to follow.
- Click “Copy nprofile.”
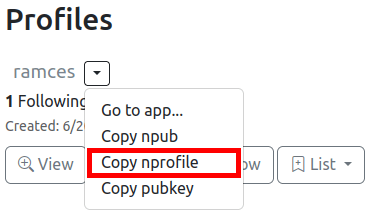
- Once you have an nprofile key, go back to Gossip and paste that on the textbox directly underneath the “Follow an nprofile” category.

- Click the “Follow” button to load that user’s notes and information.
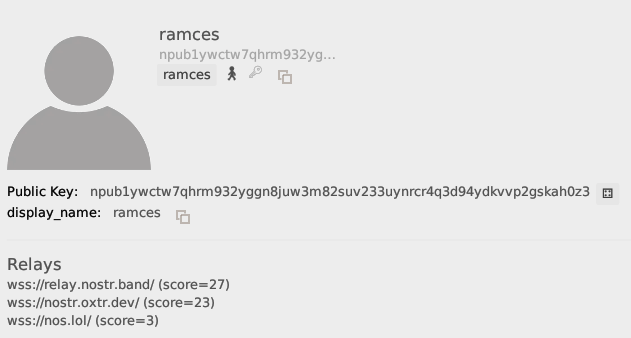
Reading an External Nostr Account’s Feed
One of the brilliant features of Nostr is that you can read any public data that is being sent to a particular account as long as you know its nprofile key. This makes it useful for users that want to create a “read-only” feed of their favorite users.
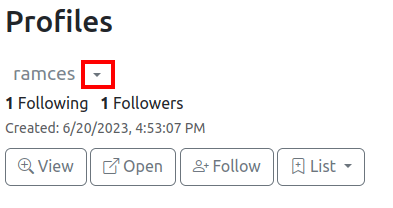
- To import the public feed of a different account, you need to get its “npub” key. You can also get this by going to Nostr.Band.
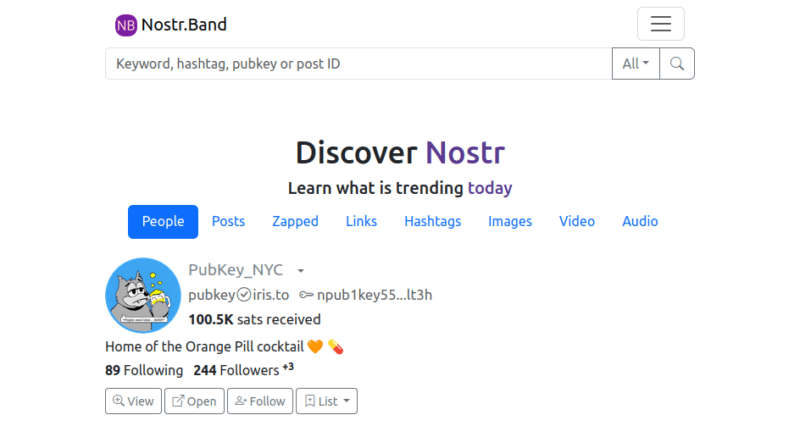
- Click the down arrowhead symbol of that user that you want to import to Gossip.
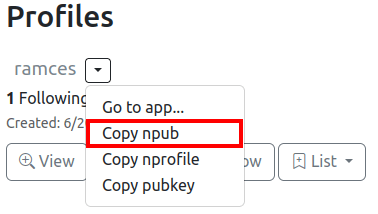
- Click “Copy npub.”
- Open Gossip and click “You,” then “Keys.”
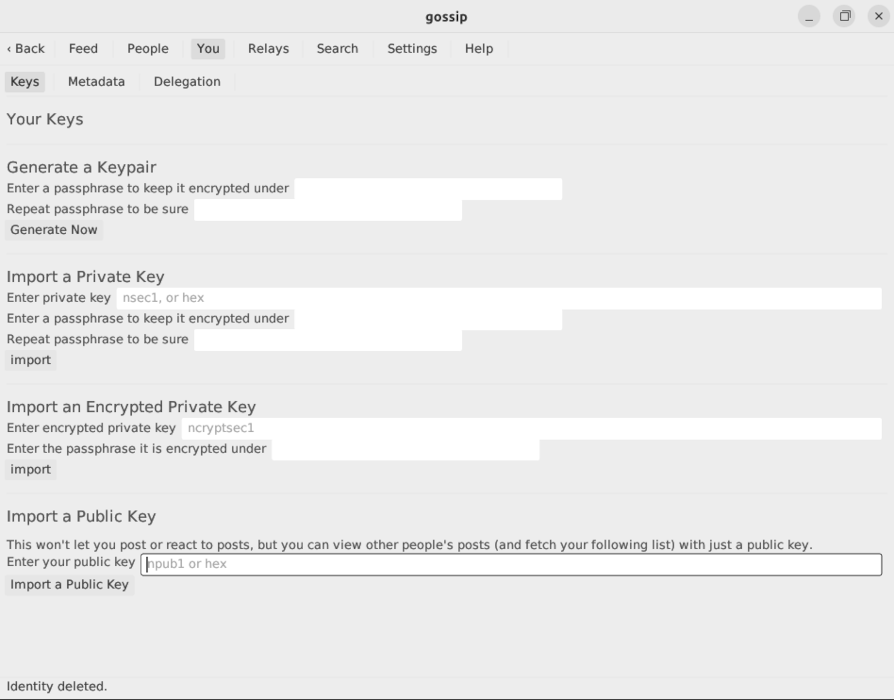
- Scroll down the window and paste your npub key on the textbox underneath the “Import Public Key” category.

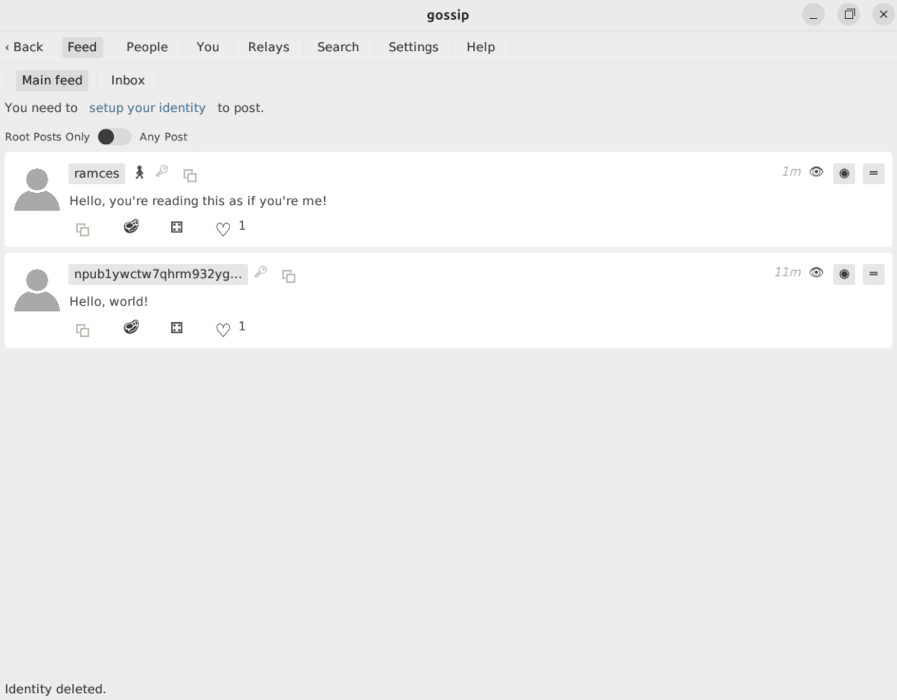
- Click “Import Public Key” to load the external account’s feed in Gossip.
Good to know: Learn how Public Key Cryptography works by generating your own GPG keys in Linux.
Frequently Asked Questions
I cannot see any posts in my Nostr client.
This issue is most likely either due to a misconfigured Gossip relay list or a malfunctioning relay. To fix this, you can double check your relay list if every server has the “Read” and “Write” permissions enabled. You can also include additional relays to serve as a redundant backup for your Gossip client.
Can I use my Gossip Nostr account on a different client?
Yes. Since a Nostr account is only a simple pair of public and private keys, you can take your account to any client and it will still load all of your notes and your current follower lists.
Is it possible to block the spam messages in Nostr?
Yes and no. By default, a public relay will always accept a note regardless of where it came from. This means that a spammer can always broadcast messages publicly and it is up to the user’s client to filter these messages. However, there are a number of paid services that you can subscribe to which will do the spam filtering on a relay level.
Image credit: Redd F via Unsplash. All alterations and screenshots by Ramces Red.
Our latest tutorials delivered straight to your inbox